5 Steps to implementing Task Management in Obsidian
One of the plugins I use most is Tasks. I use this to create tasks in my different workflow and help me prioritise tasks. In this thread, I will explain how I use it with Obsidian
1. Creation Tasks can be added to any note. All you need to do is type "- [ ]" with your task name, and the prompt will let you set a due date.

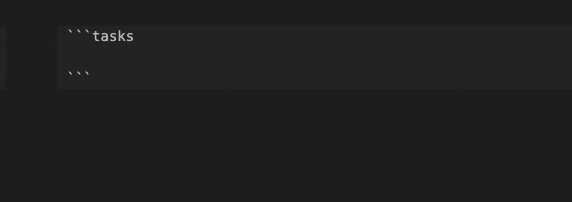
2. View tasks You can create queries to see a list of your tasks. The queries can have added functionality to filter, sorry, group and limit the results. I add these queries to my dashboard. I also have a task list note that shows different views of the tasks.
3. Template I add tasks to my templates so that when the note generates, it will already have a task linked to it. An example of this is a quick note that will have a task created to remind me to review it another day.
4. Tags One of the things I do is add tags. I use this to group specific tasks with a similar action to complete them all in one go. Examples of these tags are #calls, #shop or #email
5. Prioritisation The tasks plugin lets you prioritise your tasks. Using the query feature, you can filter out tasks by priority.